Category Archives: The Hunter’s Kitchen

Venison Wellington with mushrooms and kumara mash

hunters kitchen spread


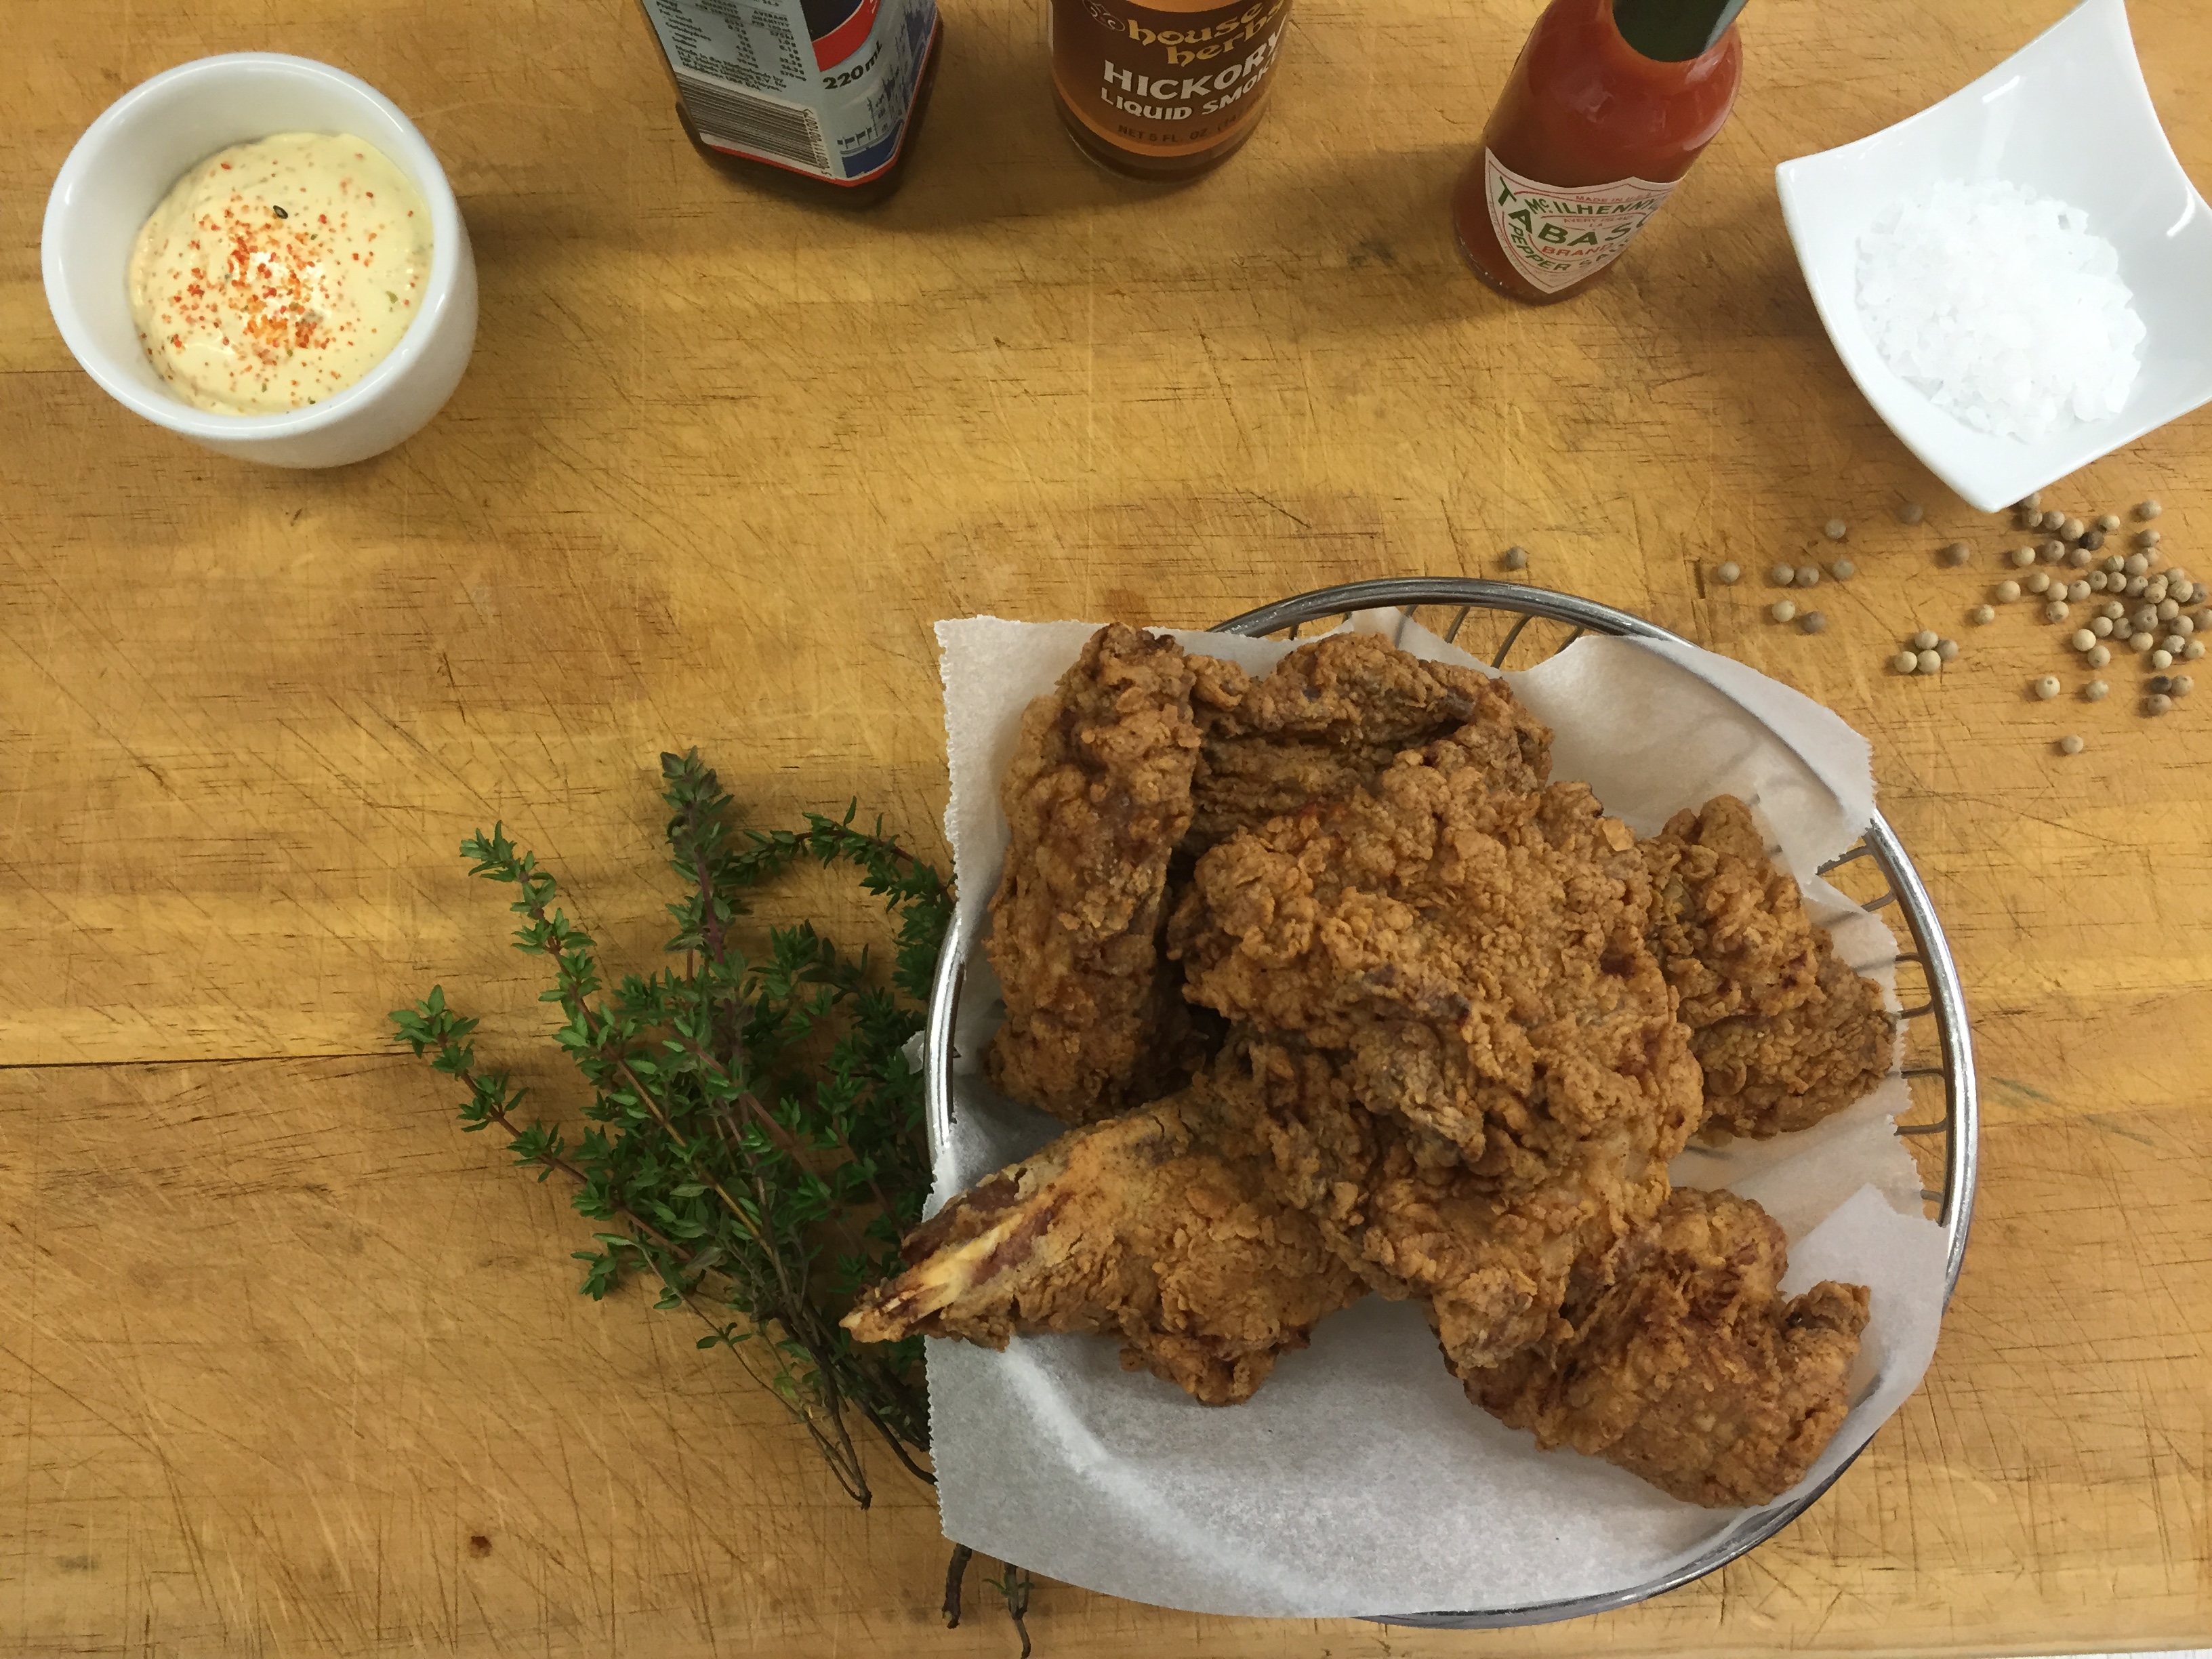
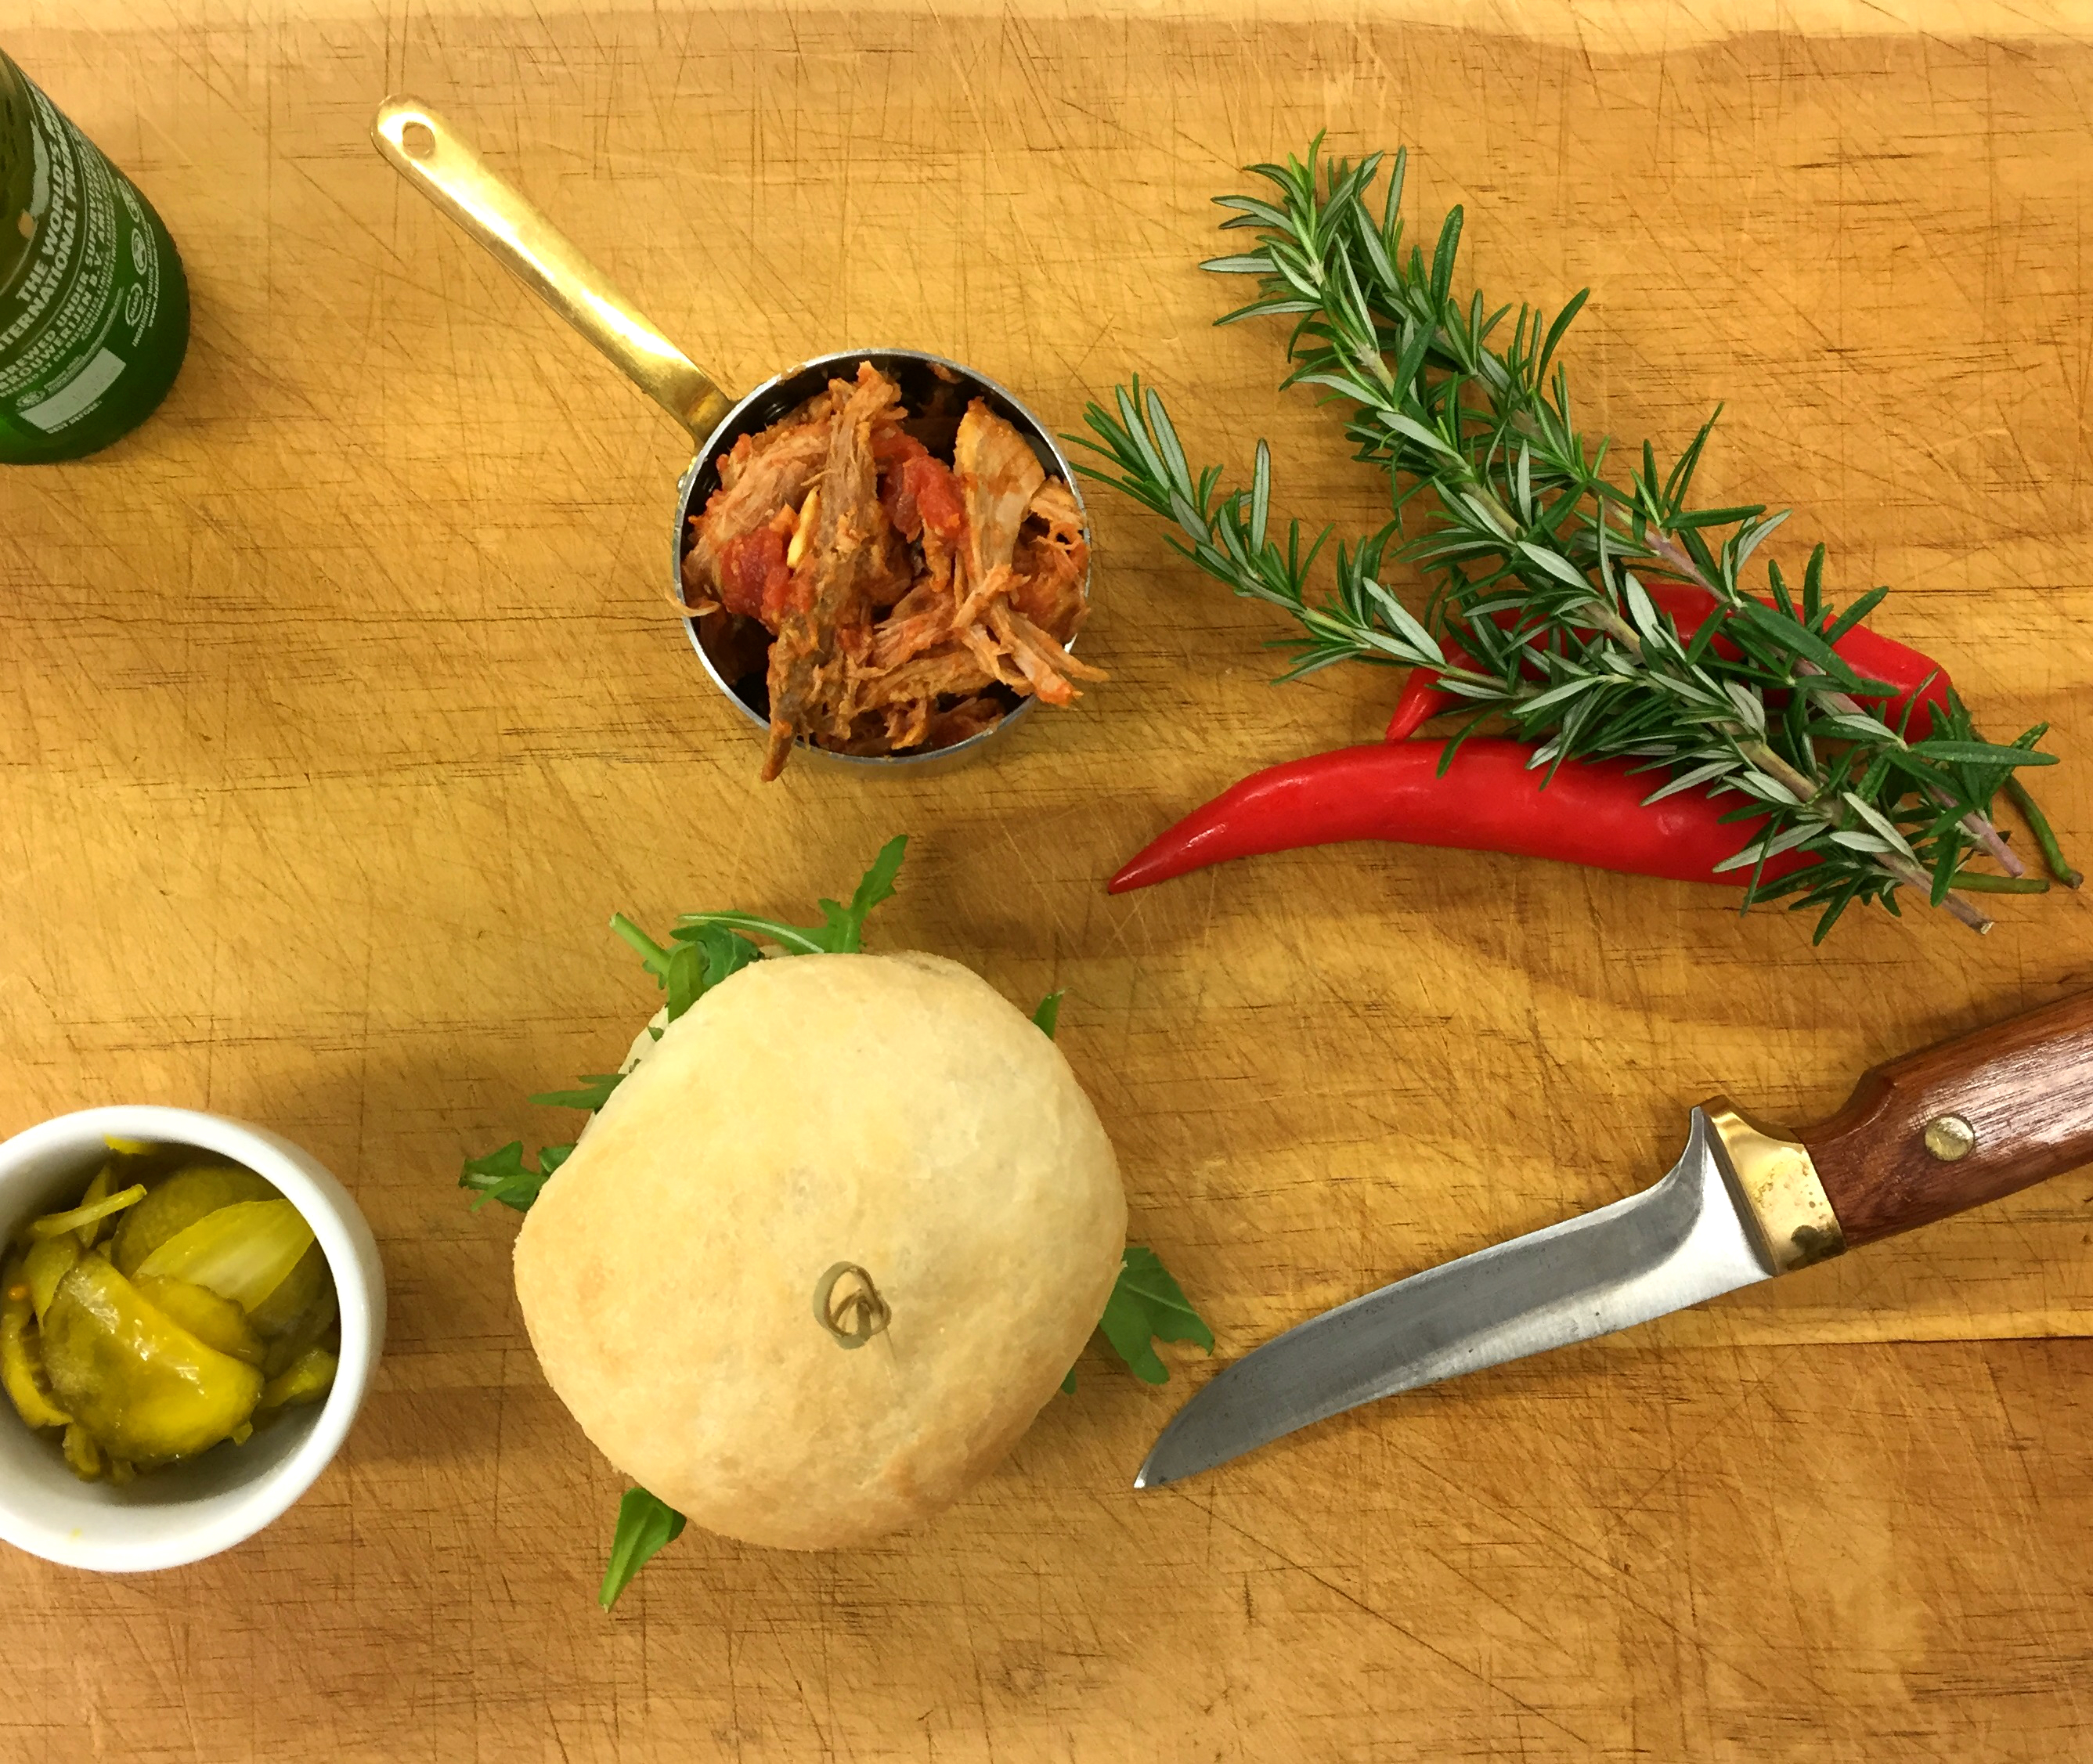
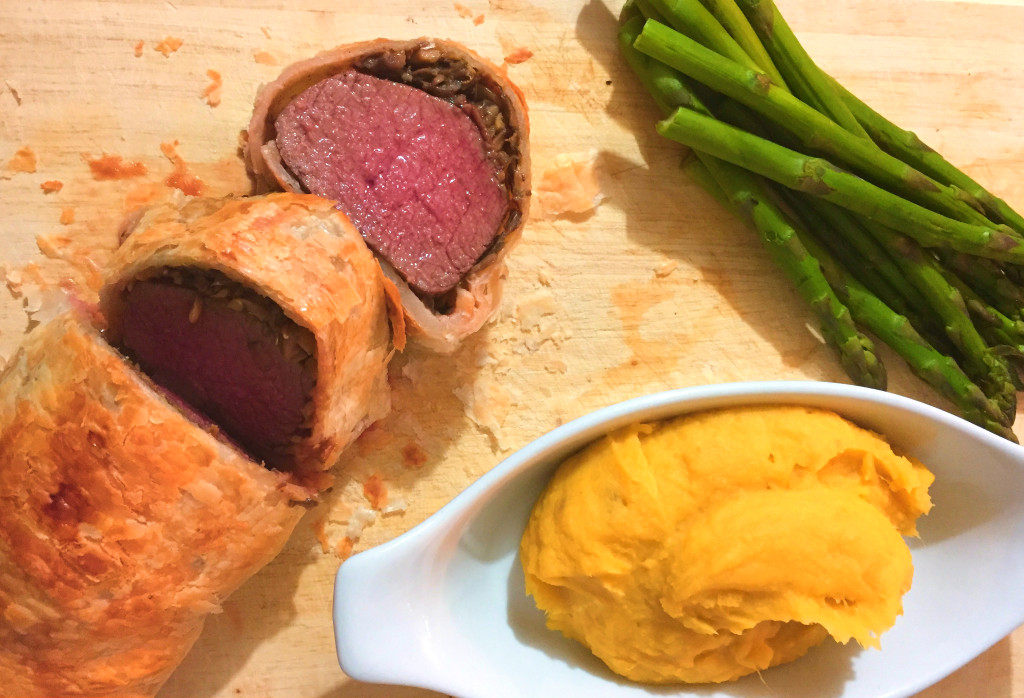
This is a good recipe for entertaining and an impressive way to cook venison. The kumara adds a buttery richness to the dish and the earthiness of the mushrooms compliments the flavour of the meat well. If you wanted to save time and did not want to use the pastry aspect of the dish you could simply grill the venison and add some cream and meat stock to the mushrooms for a simple mushroom sauce.

Venison Wellington Final

Venison Wellington with mushrooms and kumara mash
Serves 4
Write a review
Print
Prep Time
45 min
Cook Time
20 min
Total Time
1 hr 5 min
Prep Time
45 min
Cook Time
20 min
Total Time
1 hr 5 min
Venison
  1. 600g venison back strap
  2. 2 sheets puff pastry
  3. Splash of milk
Mushroom Duxelle
  1. 1/2 onion
  2. 250g mushrooms
  3. 3cl garlic
  4. 1/2tsp dried thyme or fresh
  5. 50g butter
  6. 1tsp red wine vinegar
  7. Salt and pepper
Kumara Mash
  1. 2-3 kumara
  2. 50g butter
  3. Splash milk or cream
For the Mushroom
  1. Finely dice the onion, mushrooms and garlic by pulsing them all together in a food processor. Place in a pot along with the butter and thyme and cook out on a low to moderate heat until everything has softened and the liquid has evaporated, about 15mins. Add the vinegar and cook for another 2mins. Season to taste with salt and pepper then set aside to cool.
For the Kumara mash
  1. Peel the kumara and cut into even sized pieces. Starting in cold, salted water boil the kumara until nice and soft. Drain in a colander then return to the pot and cook over a low heat for 1 to 2 minutes to remove any excess water. Mash the kumara until nice and smooth. Melt the butter along with a little milk or cream and fold through the kumara mix. If the mash is too stiff add some cream or milk to thin it down and then season to taste with salt and white pepper.
For the Venison Wellington
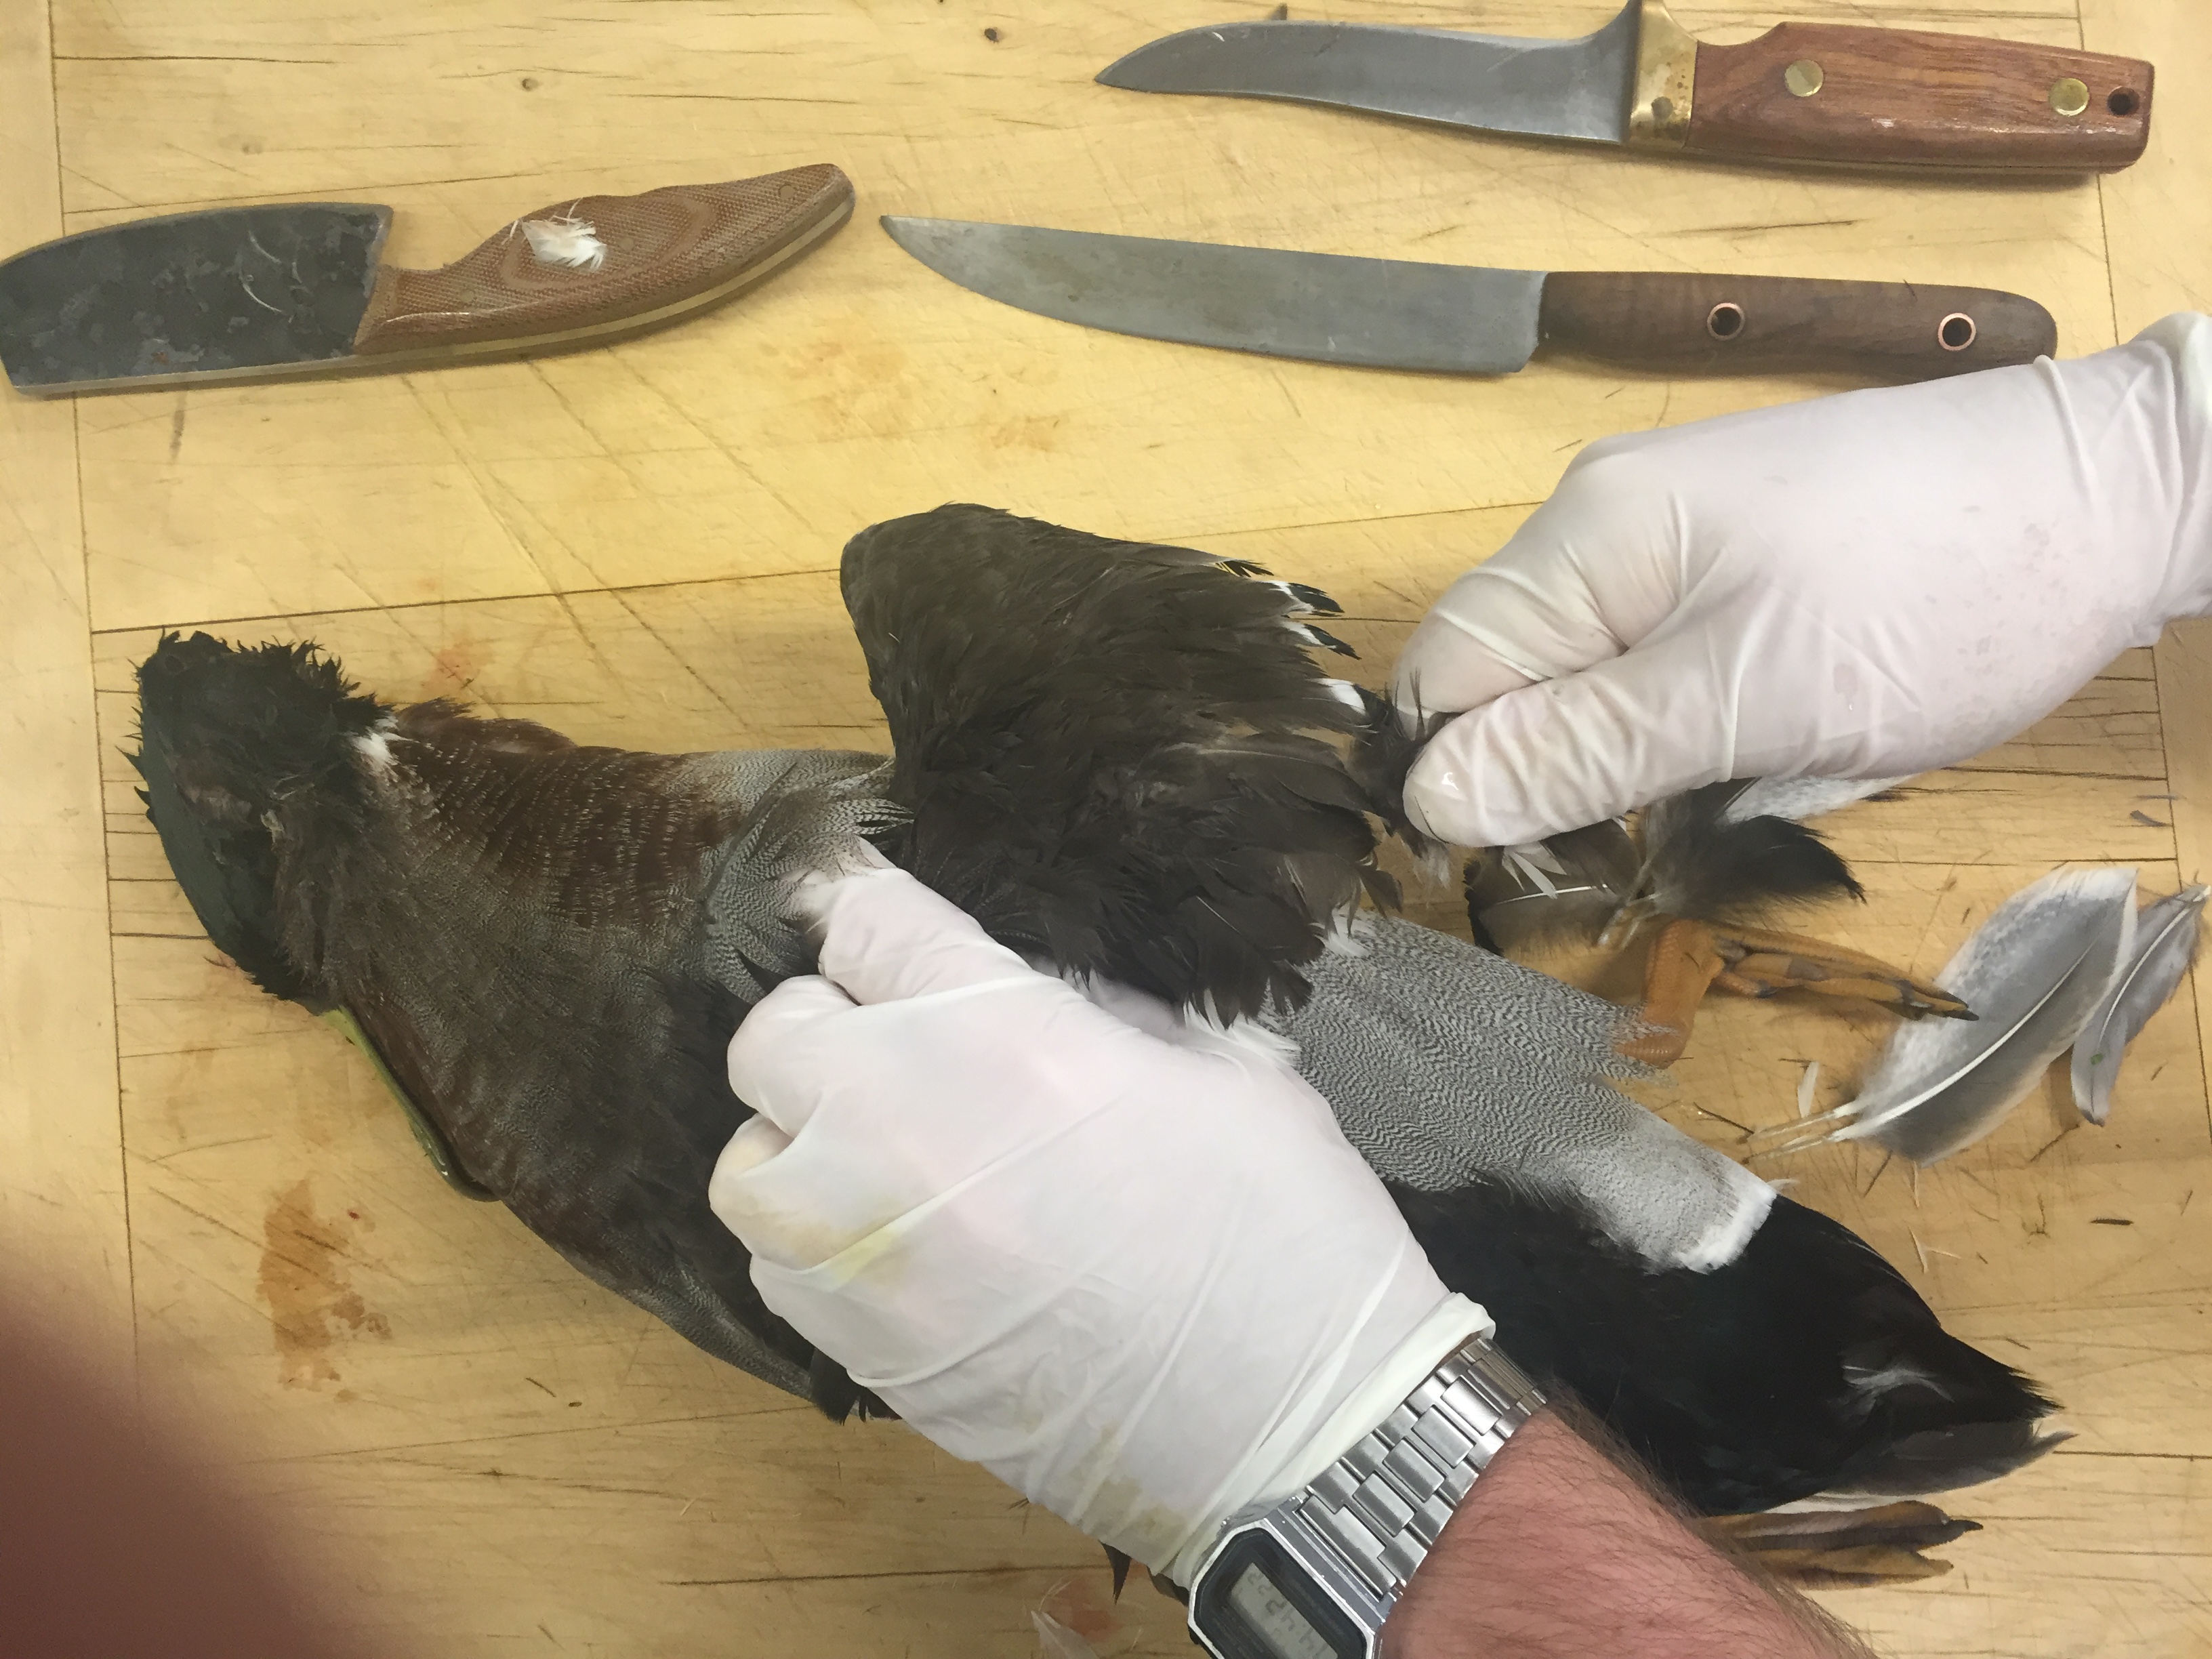
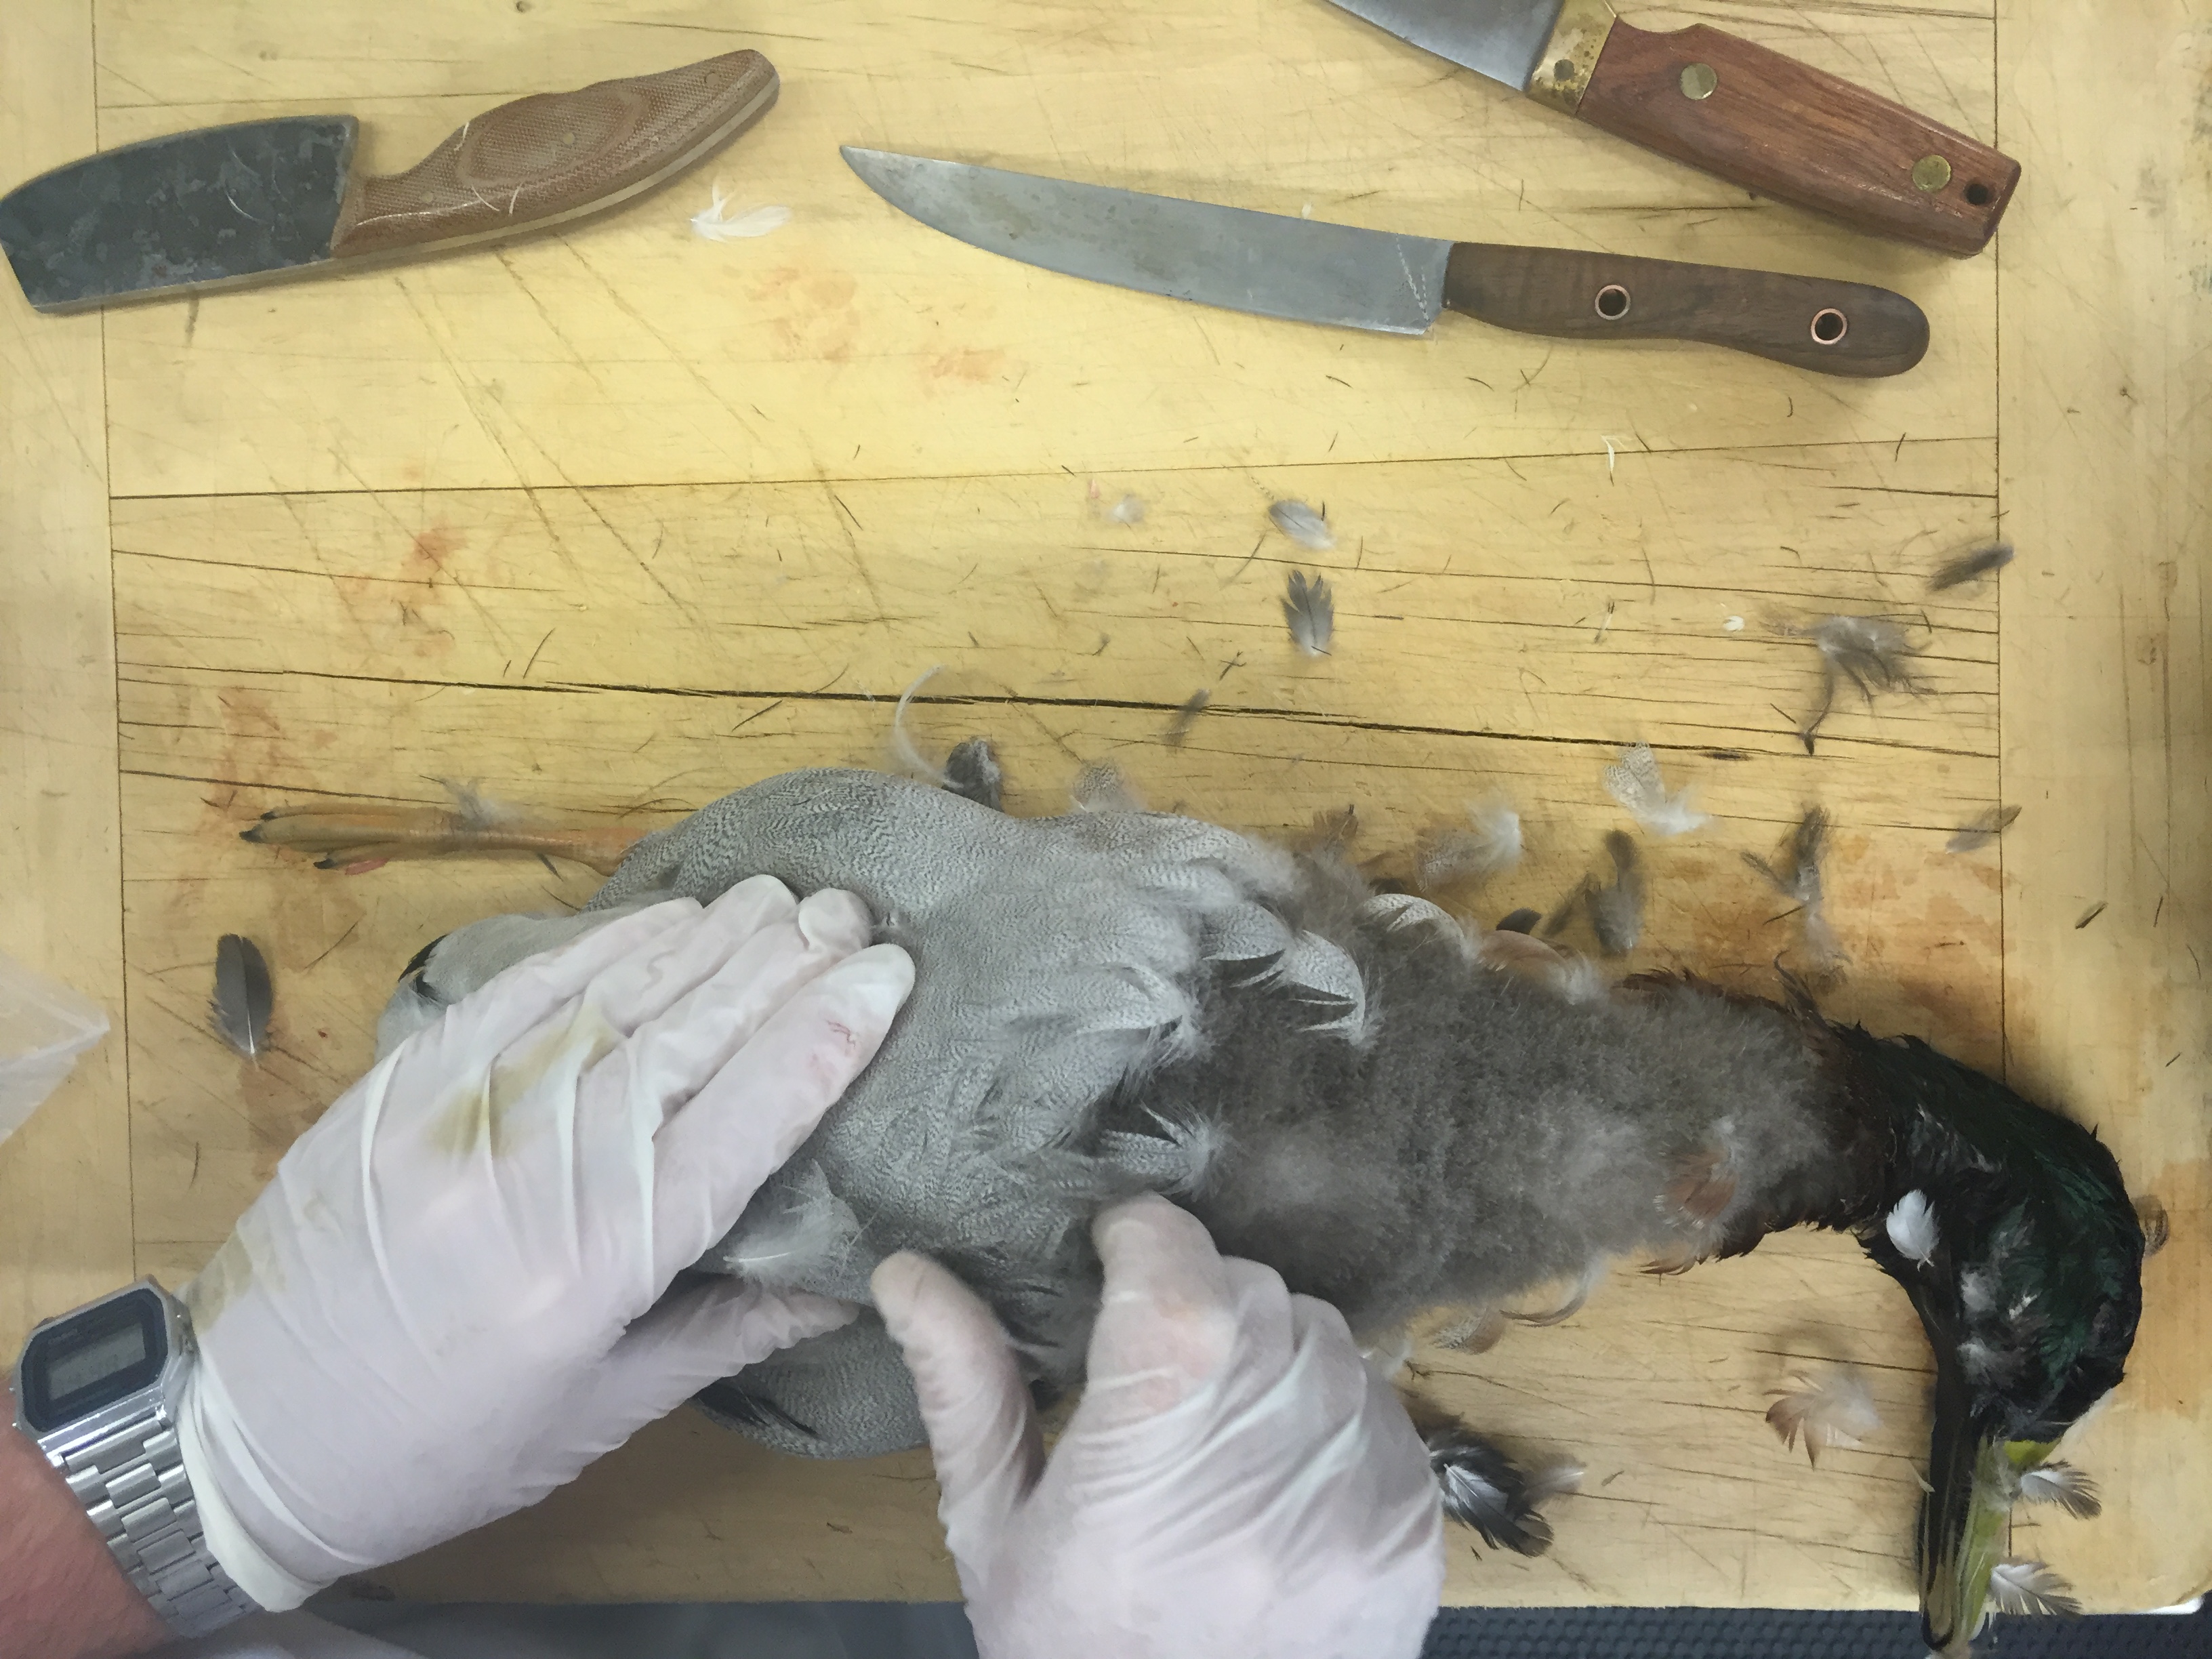
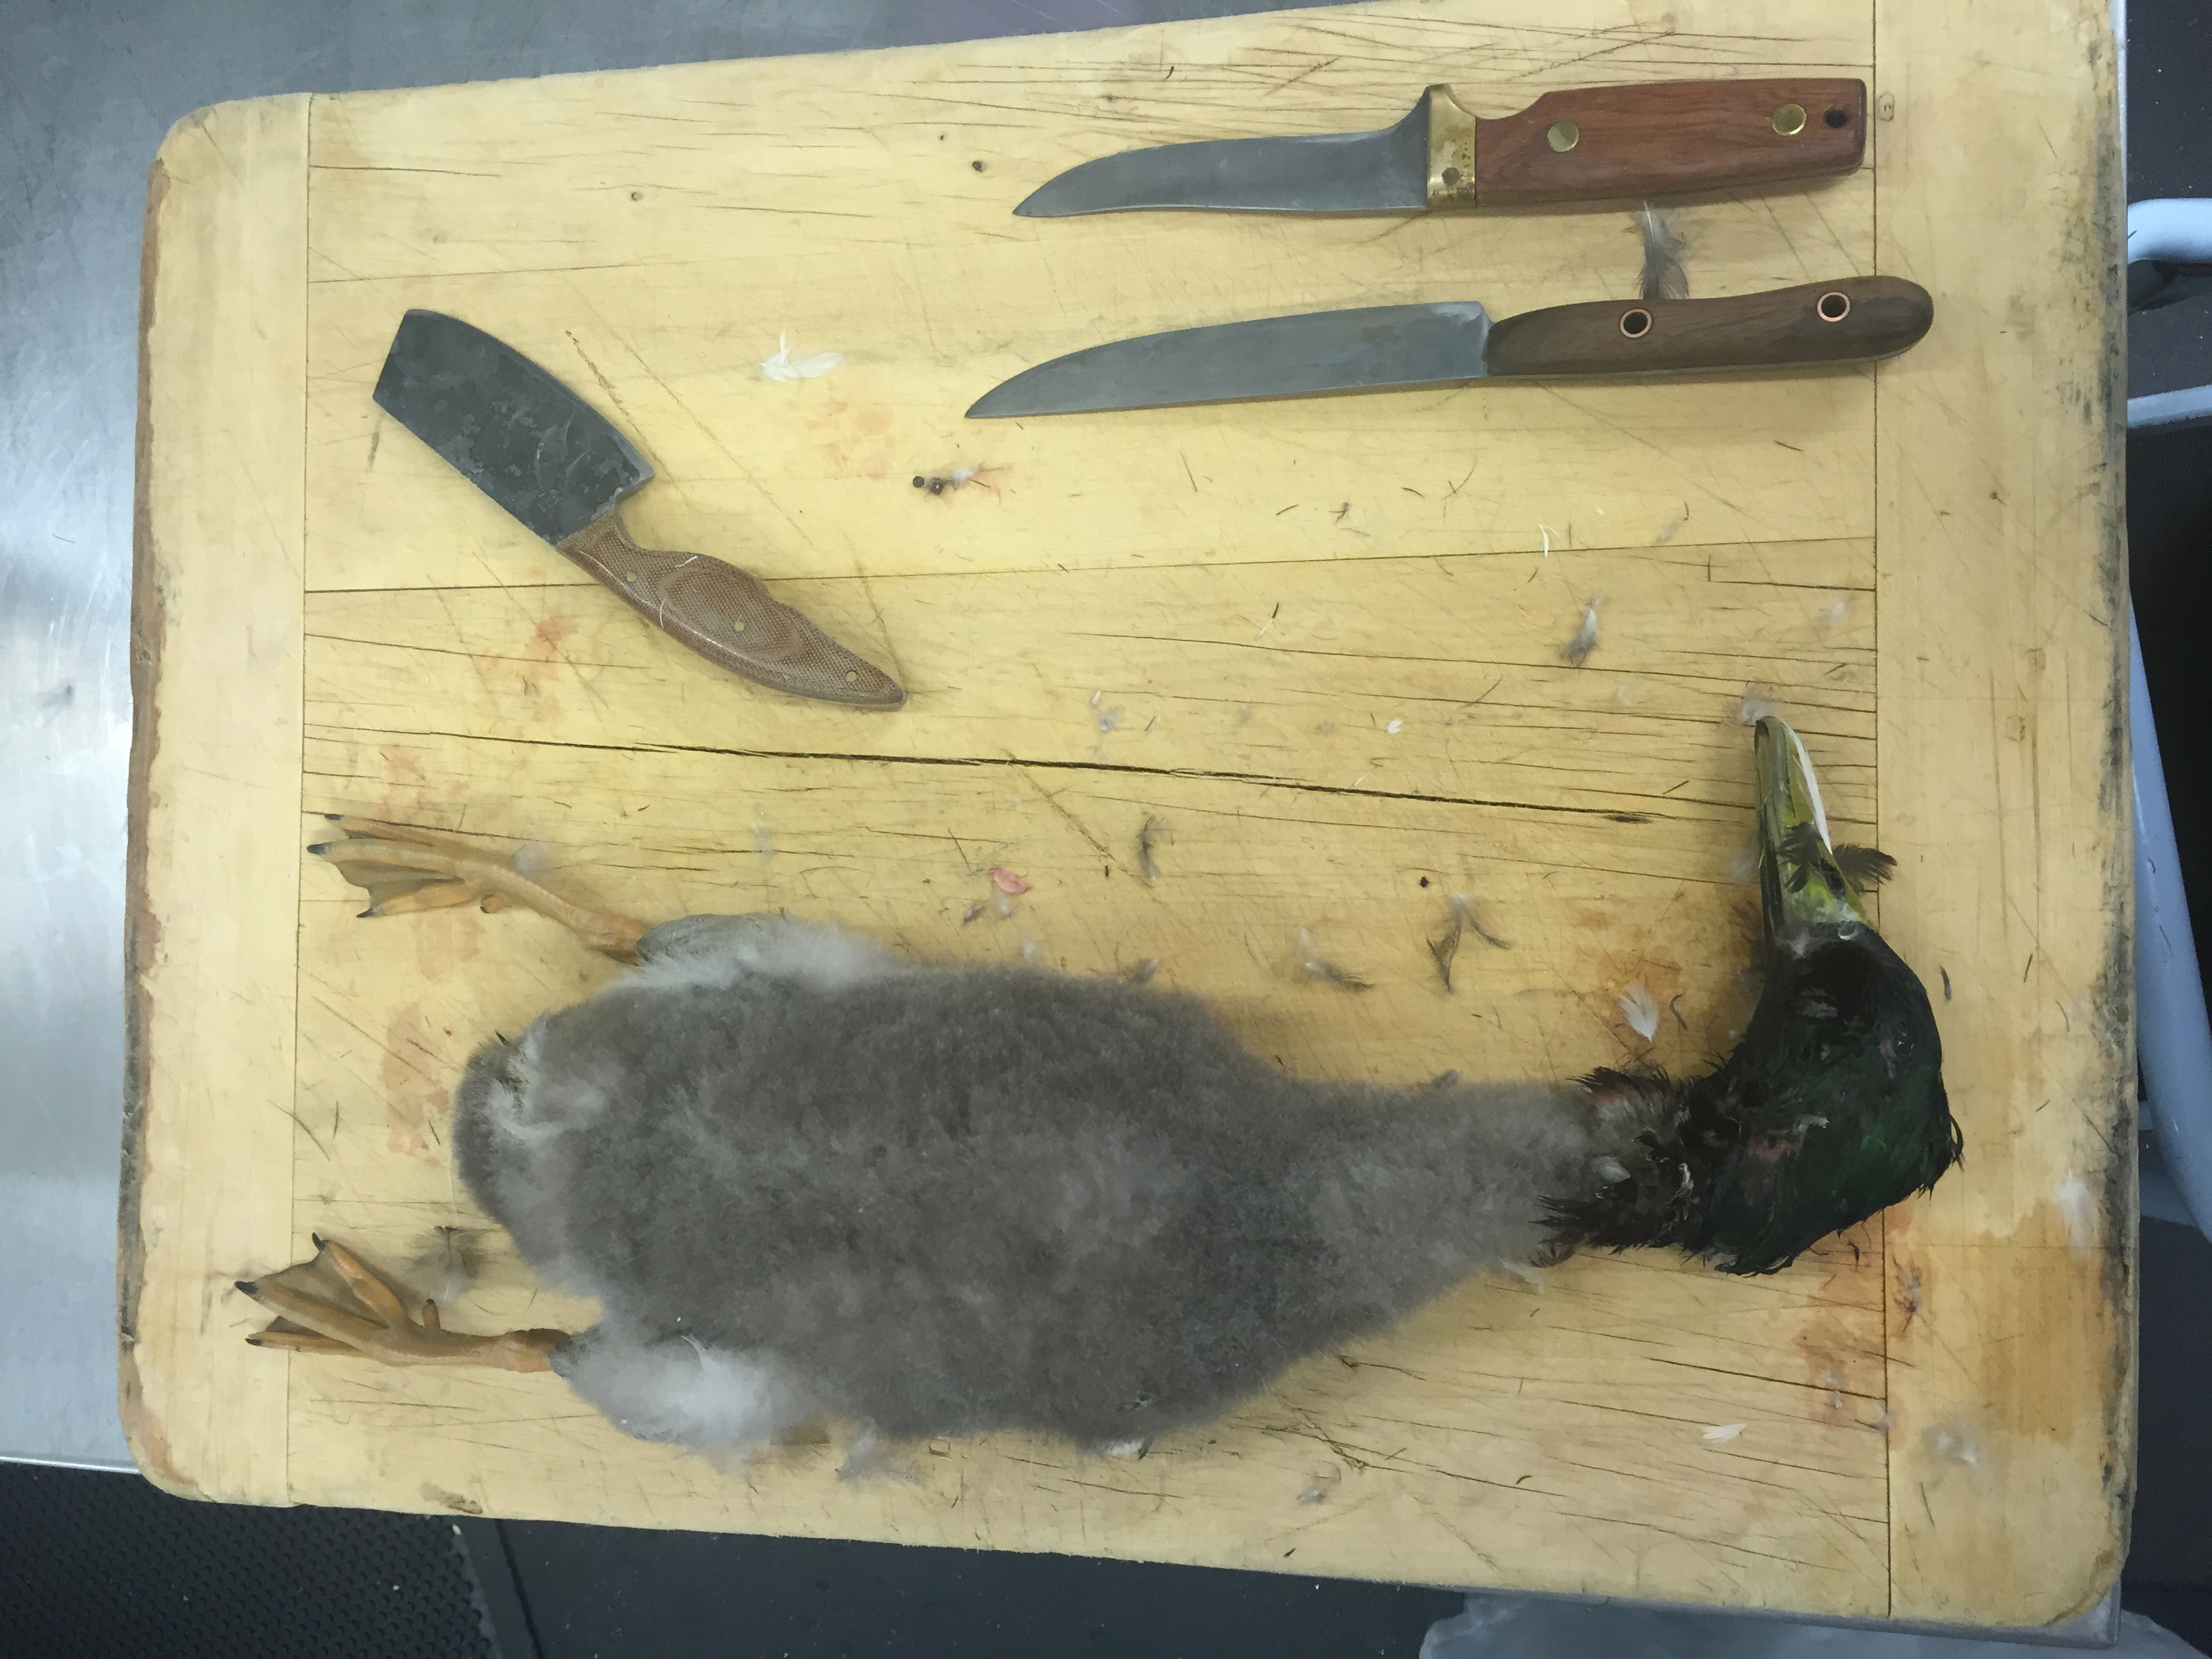
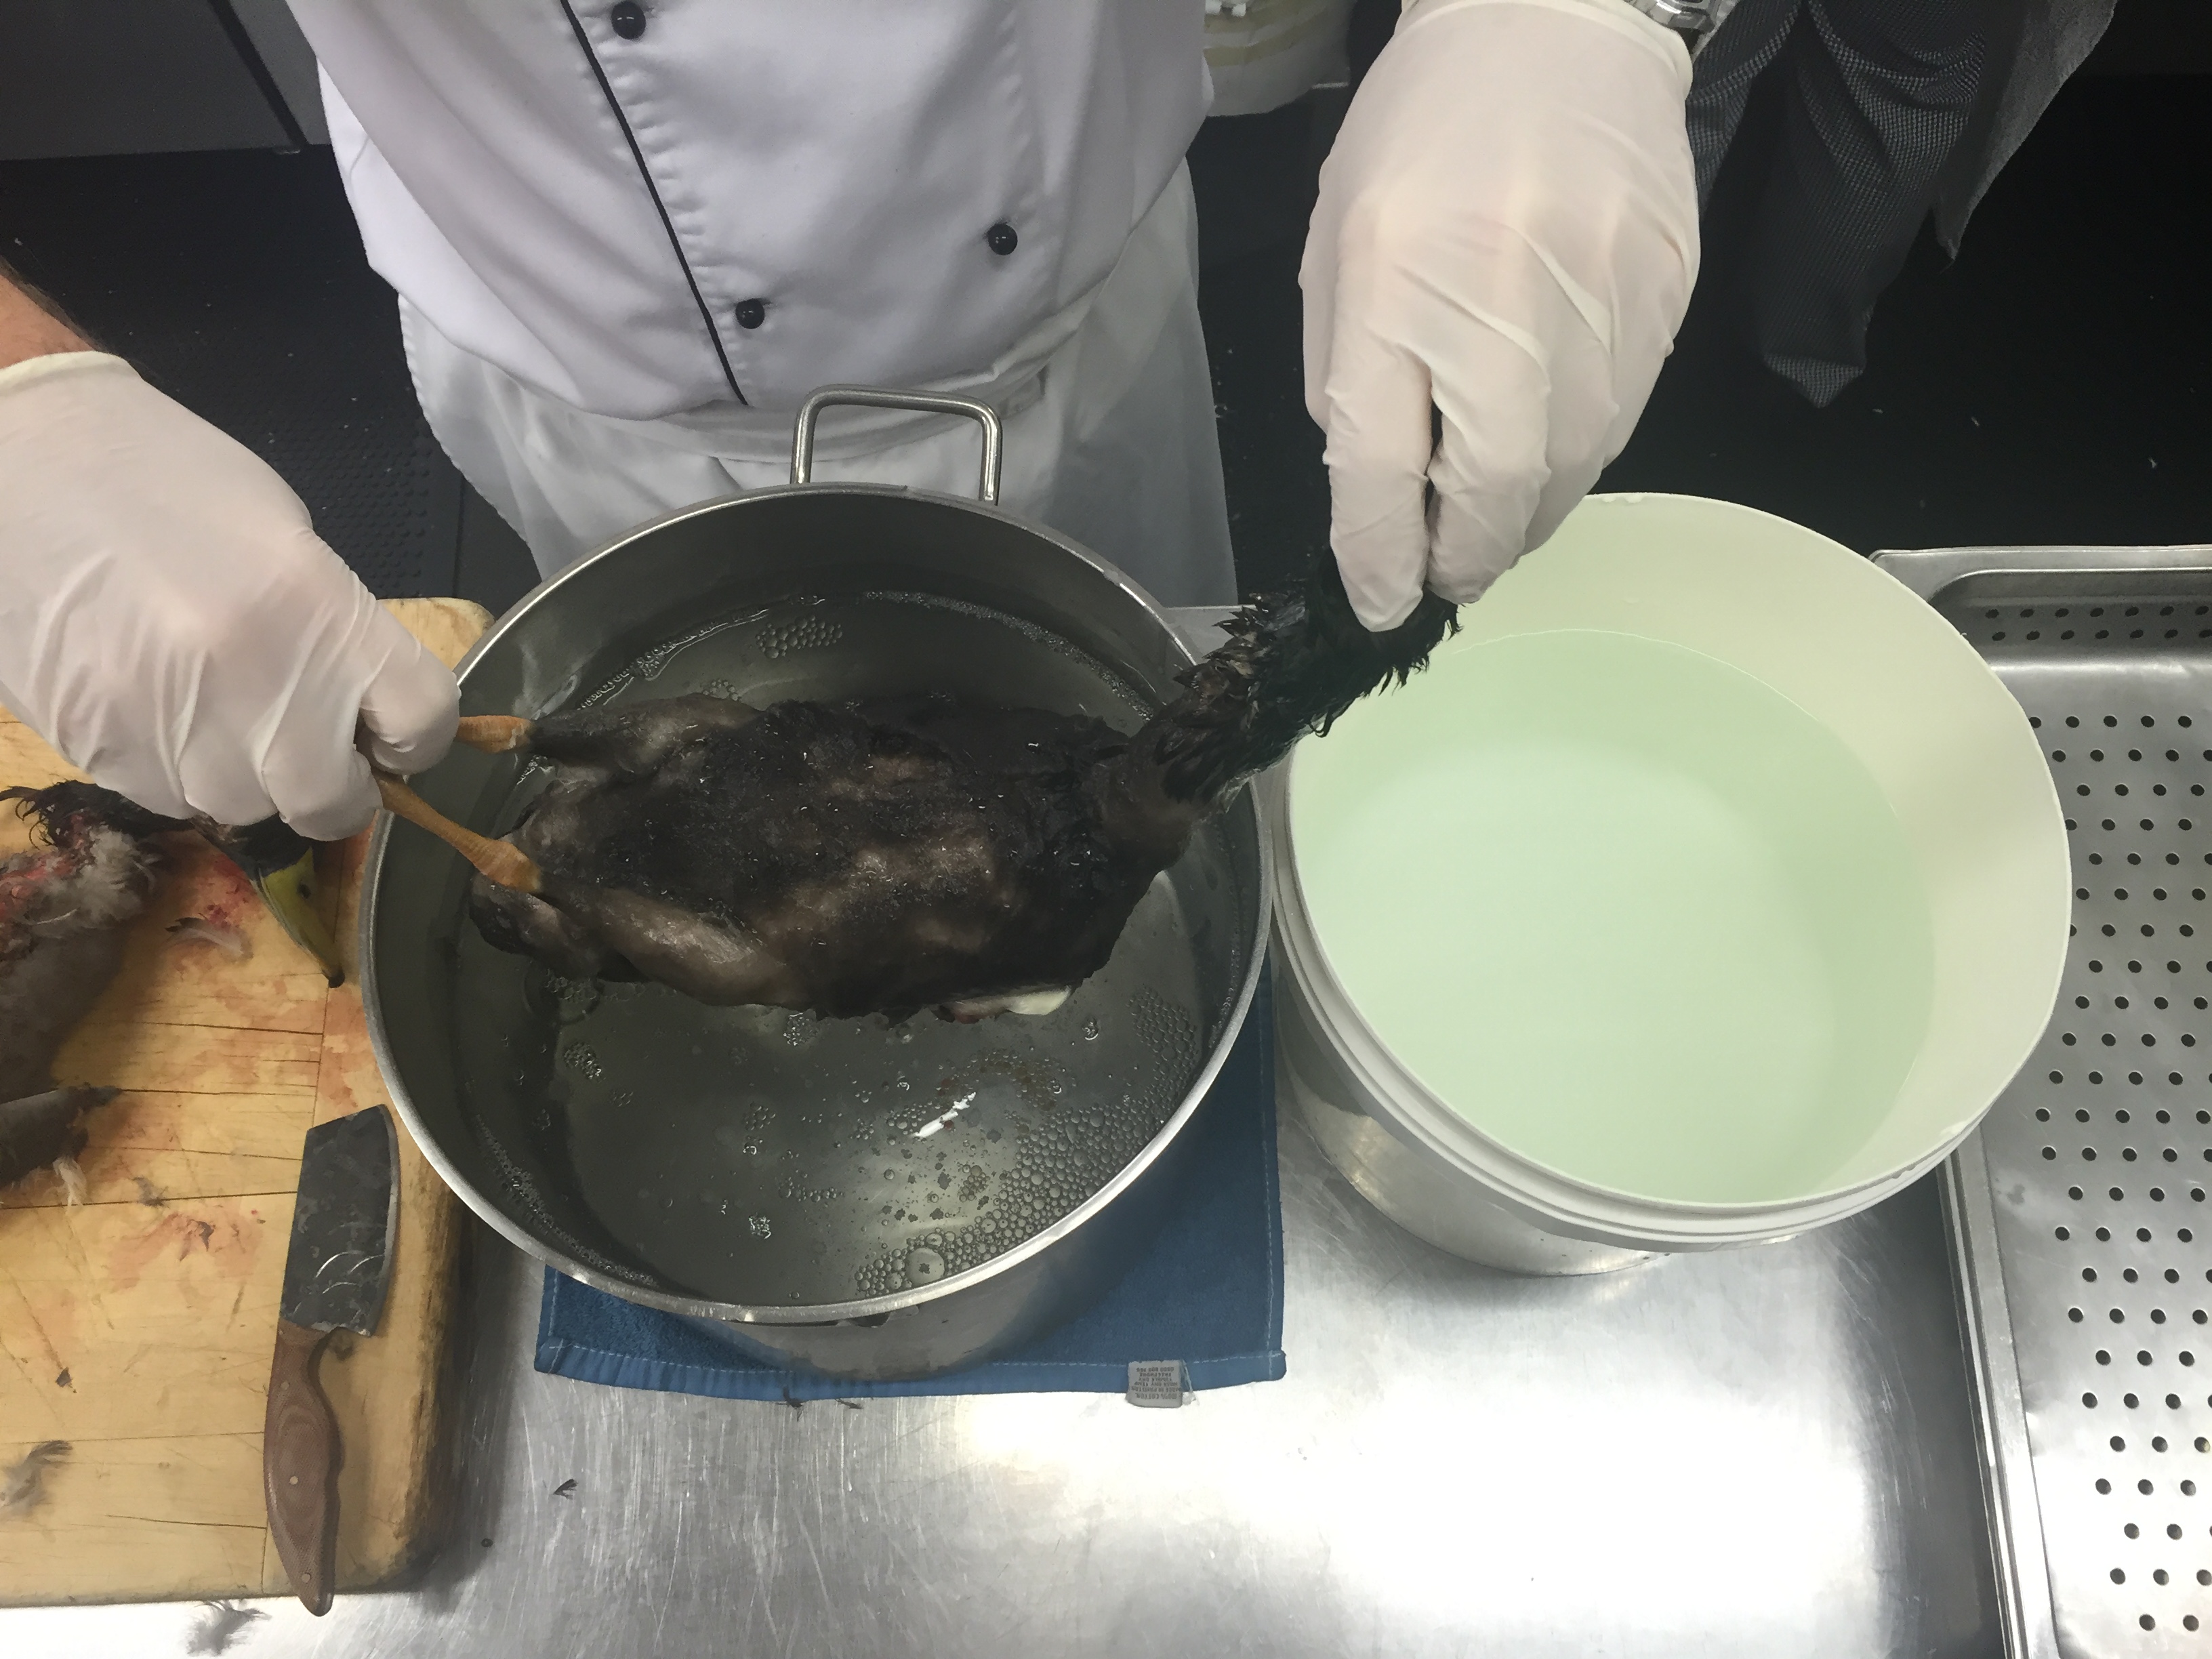
  1. Trim the venison back strap of any silver skin by inserting a sharp pointed knife (such as a boning knife) under one end of the silver skin then with the blade angled upward remove the silver skin off in strips cutting off as little meat as possible. Pat the meat dry with a kitchen towel if required and season with salt and pepper. In a very hot pan with a little oil, sear the back strap until nicely browned on each side but not at all cooked. Set aside.
  2. Place the venison on a pastry sheet (you may need to cut your venison in half to fit depending on the size of your pastry sheets). Spoon some of the cold mushroom mix on top of the venison so the entire top of the meat is covered and then with one edge of the pastry brushed with milk so that it sticks, roll the venison and the mushroom together in the pastry and pinch the edges. Brush the pastry with milk.
To Serve
  1. Bake the venison Wellington on an oven tray lined with grease proof paper in a 200C oven for 10-15mins for rare to medium rare depending on the thickness of your back strap. Cooking beyond medium rare will make your venison dry. Once cooked remove from the oven and poke a few small holes in the base of the pastry to allow any resting juices to escape and rest on an oven rack for 10 minutes before carving. Serve with some hot kumara mash and a green salad or seasonal veg along with Branston pickle if desired.
MacLean Fraser http://macleanfraser.com/

Leave a Comment

Filed under Blog, Recipes, The Hunter's Kitchen

Southern Fried Rabbit with Smoky Chilli Mayo

hunters kitchen spread

This recipe and is a home version of fast food using wild game. It’s one of my favourite ways to eat rabbit as it locks in the moisture and flavour so make sure you don’t skip the brining process as this is critical to ensuring a moist result. If you don’t have all the ingredients to make the brine you can use just salt and water and that is better than nothing. The smoked chilli mayo recipe uses smoke essence which is available from specialty shops or you can replace the chilli powder and tabasco with canned Chipotle chillies which will give the mayo a lightly smoky flavour.   

 Fried Rabbit


Southern Fried Rabbit with Smoky Chilli Mayo
Yields 24
Write a review
Print
Cider brine
  1. 500ml apple cider
  2. 3lt Water
  3. 1/2C salt
  4. 3 star anise
  5. 4 bay leaves
  6. 4 sprigs thyme
  7. 2 rabbits (about 1kg each)
Smoky chilli mayo
  1. 4 yolks
  2. 1 whole egg
  3. 1tsp tabasco sauce
  4. 1 small garlic clove
  5. Juice of 1 lemon
  6. 375ml canola oil
  7. 125ml olive oil
  8. Salt and pepper
  9. 1/4tsp Chilli powder
  10. Dash smoke essence
Rabbit coating
  1. 1/4C milk
  2. 2Tbs cayenne pepper
  3. 1Tbs paprika
  4. 1tsp ground black pepper
  5. 1tsp garlic powder
  6. 1C flour
  7. 1/4C corn flour
For the brine
  1. Mix everything apart from the rabbit together and stir well to dissolve the salt. Take your skinned and gutted rabbit and using a sharp pointed knife remove any membrane and silver skin from the outside of the meat as this will go tough once cooked. Halve the now trimmed rabbit and cut each half through the bone into 6 pieces depending on how big you’d like them (I like to get 12 pieces out of every rabbit). Submerge the rabbit in the brine for about 12 hours or overnight.
For the mayo
  1. Combine all ingredients except the oil and smoke essence in a food processor or blender. Slowly add the oil with the food processor running to emulsify the oil and create the creamy mayo. Add smoke essence to taste and more tabasco/chilli powder if more heat is desired. Add warm water at the end for consistency if the mayo is too thick.
For the rabbit coating
  1. Combine in a large bowl all the ingredients except the milk and stir to mix all the spices evenly through the flour mix. Remove the rabbit from the brine and pat dry with a kitchen towel. Toss in the milk, shake off the excess and transfer to the flour mix. Toss the rabbit in the bowl of flour and leave for up to 2 hours making sure to give it a toss every now and again. This is to build up a good thick flour coating on the outside of the rabbit.
  2. Fry in vegetable oil or lard at 160C for about 10mins (depending on the size of your rabbit pieces) or until golden brown and just cooked through. If you coating starts to get too dark before the middle of your rabbit is fully cooked you can remove the rabbit from the oil and finish it in an oven set to 150C for a few minutes until cooked through.
MacLean Fraser http://macleanfraser.com/

Leave a Comment

Filed under Blog, Recipes, The Hunter's Kitchen

Chipotle pulled pork burger with cucumber pickle

hunters kitchen spread

This recipe calls for pork shoulder which is a tougher secondary cut of meat and benefits from a slow, wet cooking method. You can get canned chipotle chilies from the supermarket and can serve the burger with a nice fresh coleslaw. Wild pork is great here, however any pork could be used but stick to a tough cut such as shoulder or belly.

 Pork Burger Fullsize

Chipotle pulled pork burger
Serves 6
Write a review
Print
Prep Time
45 min
Cook Time
4 hr
Total Time
4 hr 45 min
Prep Time
45 min
Cook Time
4 hr
Total Time
4 hr 45 min
Chipotle pulled pork
  1. 1.5kg (or there about) bone in pork shoulder
  2. 2 shallots (or 1 small onion)
  3. 6 cloves garlic
  4. 1Tbs smoked paprika
  5. 3Tbs brown sugar
  6. 100g can chipotle (use ½ to 1 whole can depending on how hot you want it)
  7. 250g can tomato paste
  8. 3Tbs red wine vinegar
  9. 1/2C water (use 1.5C if using an oven instead of a slow cooker)
  10. 1Tbs chopped rosemary (or dried herbs)
  11. 1Tbs salt
  12. 1/2tspn white pepper
Cucumber pickle
  1. 500g (about 2) cucumbers
  2. 1 onion
  3. 1/4C salt
  4. 1.5C white wine vinegar
  5. 3/4C sugar
  6. 1Tbs wholegrain mustard
  7. 1tspn turmeric
For the burger
  1. Blend all the ingredients together in a blender or food processor and rub all over the pork. Place the pork along with any left-over marinade in your slow cooker and cook for about 8 hours or place in a roasting tray covered with tin foil and bake at 150 for 4-5hrs until tender and falling off the bone. If there is any liquid left then place in a pot and simmer until it thickens. Once cool enough to touch shred the meat and mix with any remaining cooked marinade and reduced cooking liquid.
For the pickle
  1. Slice the cucumber and onion and toss with the salt in a bowl. Cover the cucumber salt mix with cold water and leave for an hour. Drain the salt water in a colander. Combine the remaining ingredients in pot and bring to boil. Pour the hot vinegar mix over the cucumber and onions then leave to cool. Store in an airtight container in the fridge for up to 1 month.
MacLean Fraser http://macleanfraser.com/

Leave a Comment

Filed under Blog, Recipes, The Hunter's Kitchen

How to: Plucking a Duck, wax method

hunters kitchen spread

“Here is a technique that gets a pretty good result, about as close as you can get to looking like a store bought duck. Plucking a duck can be a pretty laborious job but this technique is pretty quick and easy and means you get to enjoy the whole bird and its crispy skin.”


You will need:

Paraffin Wax

A big pot to boil water

A bucket of cold water


Step 1:

Find a place where you don’t mind making a bit of a mess and get your knives sharpened and ready along with a decent sized chopping board sitting on a wet towel to stop it from moving round on you. One of the first things you will want to do is get your big pot on to boil and add your paraffin wax to it to melt. Apparently National brand candles are made of paraffin wax which is certified food grade.

 Step 1

Step 2:

Remove the wings.

 Step 2

Step 3:

Remove the wing and tail feathers. The easiest way is to pull these straight out, with the grain.

 Step 3

Step 4:

All the other feathers are easiest if pulled out against the grain. Don’t completely pluck the duck, what we want to do is leave a covering of the down feathers so we can remove them with the hot wax.

 Step 4

Step 4 part 2

Step 5:

Holding your semi plucked duck (guts still intact) by the head and feet, dip it slowly into a pot with the melted wax for a few seconds then transfer to a bucket of cold water. Leave the duck there for about 5 minutes in order for the wax to set rock hard.

 Step 5 part 1

Step 5 part 2

Step 6:

Now that the wax is hard and has stuck to the feathers you can start at the neck and carefully peel it off the duck, removing all the feathers in the process. Once your duck has all the feathers and wax removed you can go ahead and remove the head and feet. If there are any small down feathers left here and there they can be singed by a quick go with a blow torch.

 Step 6 part 1

Step 6 part 2

Step 6 part 3

Step 7:

To gut the bird remove the tail by cutting straight through just past where the bones stop. Reach into the cavity and pull out all the contents being sure to remove the lights (lungs) which are found at the neck end of the bird on either side of the backbone. Give it a good rinse inside and out with cold running water, inspect for any shot and pat it dry. Now it’s ready to cook. 

Step 7 part 1


Step 7 part 2


Step 7 part 3

1 Comment

Filed under Blog, The Hunter's Kitchen

Duck confit on caramelised Brussel sprouts, bacon and grain mustard with bread sauce and fig chutney

hunters kitchen spread


This recipe utilises the whole duck and because of the slow method of cooking in fat you end up with a tender, moist and flavoursome result. I recommend giving the Brussel sprouts a go as bacon always makes things better but if you don’t feel like making the accompaniments then serving with some nice buttery mash potatoes is the way to go. 

Confit Duck with Brussel Sprouts Image

Duck confit on caramelised Brussel sprouts, bacon and grain mustard with bread sauce and fig chutney
Serves 4
Write a review
Print
Prep Time
1 hr 30 min
Cook Time
4 hr
Total Time
5 hr 30 min
Prep Time
1 hr 30 min
Cook Time
4 hr
Total Time
5 hr 30 min
Duck Confit
  1. 1 Duck, cleaned
  2. Rendered duck fat
Confit Salt
  1. 1 bulb Garlic
  2. 6 Juniper berries (or 1 Star anise)
  3. 1 tsp Peppercorns
  4. 1/2C Rock salt
  5. 12 sprigs Thyme
  6. 3 Bay leaves
Brussel Sprouts
  1. 400g Brussel sprouts
  2. 2Tbs Butter
  3. 1Tbs Wholegrain mustard
  4. 4 Rashers streaky bacon (or 2 rashers Middle bacon)
  5. 4Tbs Brown sugar
Bread Sauce
  1. 1C Milk
  2. 1Tbs butter
  3. ¼ Onion
  4. 1 Whole clove
  5. 4 Whole peppercorns
  6. 1 Clove garlic
  7. 1 Bay leaf
  8. 1 Sprig thyme
  9. 2 Slices white toast bread (crusts removed)
  10. Pinch ground nutmeg
  11. Salt and white pepper
For the Duck
  1. Place all the confit salt ingredients except the salt itself into a food processor or using a mortar and pestle coarsely grind together. Add the salt and briefly grind together until well mixed. Cut the duck completely in half along the back bone and rub the salt mix all over and into both sides of the duck. Cover and leave in the fridge for 10-12 hours or overnight. After no more than 12 hours rinse off all the salt mix under cold running water and pat the duck dry on a kitchen towel. Place the duck in an oven proof dish and cover completely with rendered duck fat, cover with baking paper then tin foil and bake at 110C for 2-4 hours until the meat easily falls away from the bone. As long as the duck is covered in the fat it can be kept in the fridge for up to 3 months. To serve, drain the duck out of the fat (keep the fat for next time or for roasting potatoes), then roast in a hot oven to crisp up the skin.
For the Brussels
  1. Cut the Brussel sprouts in half lengthwise and cook in salted boiling water until they’re just cooked; about 5 minutes. Drain and keep to one side. Chop up the bacon and fry in a little oil for 1 min. Add to the pan the Brussel sprouts, butter, brown sugar and mustard and fry over a moderate heat until nice and brown. Season with a bit of salt to taste (keeping in mind the bacon is already a bit salty).
For the Bread Sauce
  1. Gently heat the milk, clove, peppercorns, bay leaf and thyme in a pot. Chop the onion into small pieces and roughly smash the garlic with the back of your knife. Gently cook the onion and garlic in a pot with the butter for about 4-5 mins until softened but not brown. Pour the hot milk mix on top of the onions and garlic and simmer gently for 10mins to infuse the flavours. Strain the flavoured milk into a pot, discard the onions and herbs etc and add the bread to the milk mix. Simmer for 3-4mins. Blend with a stick blender until smooth or leave chunky for a rustic sauce. Season with a pinch of nutmeg, salt and pepper to taste.
To serve
  1. Serve the crispy confit duck with the Brussel sprouts and bread sauce piping hot along with some nice fruit or fig chutney.
MacLean Fraser http://macleanfraser.com/

Leave a Comment

Filed under Blog, The Hunter's Kitchen

Whole roast duck with cranberry, bacon and walnut stuffing

hunters kitchen spread

Since it is now Duck shooting season, here is a wee bonus recipe utilizing the whole duck and which can be done easily at home. Be sure not to cook the duck longer than you need to or it can dry out.. This is a great opportunity to use your Dutch oven if you have one and it will yield great results as they retain the heat and moisture really well. My recipe for Duck Confit can be found in the July/August edition of NZ Guns & Hunting magazine and keep an eye out in the next edition for tips on how to pluck and dress your duck. 

Whole Roast Duck Image

Whole roast duck with cranberry, bacon and walnut stuffing
Serves 4
Here is an easy recipe that uses the whole duck but can be adapted to use for any roasting bird.
Write a review
Print
Prep Time
20 min
Cook Time
2 hr
Total Time
3 hr
Prep Time
20 min
Cook Time
2 hr
Total Time
3 hr
1 Duck
  1. plucked, cleaned and gutted
Stuffing
  1. 2 Stale Bread Rolls
  2. 1 Shallot or ¼ Onion
  3. 1 Clove Garlic
  4. 1Tbs Dried Cranberries (can substitute chopped dried apricots)
  5. 1Tbs Walnut Pieces
  6. 1Tsp Dried Mixed Herbs
  7. 1 Egg
  8. 1 Small Bunch Parsley (leaves only)
  9. 2 Rashers of Bacon
  10. Salt and Pepper
Duck Fat Potatoes
  1. Potatoes
  2. Duck Fat
  3. Salt
For the Stuffing
  1. Roughly chop up the garlic, shallot and bacon. In a food processor pulse these three ingredients together then add the bread and parsley and pulse until it resembles coarse bread crumbs. Add the cranberries, walnuts and the egg along with some salt and pepper and mix for 5-10 seconds until it has come together. Stuff the duck’s cavity with the stuffing mix and secure the hole with a toothpick. Season the outside of the bird with some salt and bake in a preheated oven at 160C for 1.5-2hrs (depending on the size of your bird) or until the leg meat is tender and the skin is golden and crispy. If the duck is getting too brown but is not cooked to your liking you can cover it with tinfoil to stop it from burning. If you are concerned about the breasts drying out you can insert a rasher of bacon under the skin on top of each of the breasts. Save the duck fat for roasting your potatoes.
For the Potatoes
  1. Peel your potatoes (Agria potatoes are nice here) and cook in a pot of salted cold water until they are about 80% cooked and are still a little bit firm in the centre. Drain and keep to one side. In a roasting tray place a few spoonfuls of duck fat and place the tray with the fat in it in a 200C oven until it is really hot, about 15mins. Being careful not to burn yourself tip the nearly cooked potatoes into the tray with the duck fat and shake the pan a little to coat the potatoes with fat and season with a little salt. Place back in the oven and roast until nice and crispy, about 20-30mins.
To Serve
  1. Once the duck is cooked cover with some tin foil or a tea towel and leave it to rest for 15mins before carving so the juices set and the meat has time to relax. You can’t go wrong serving it with a good bottle of Central Otago Pinot Noir.
MacLean Fraser http://macleanfraser.com/

Leave a Comment

Filed under Blog, Recipes, The Hunter's Kitchen

Wild venison, blue cheese and mushroom pie

hunters kitchen spread

I am a professional chef and amateur hunter. I have spent time hunting in most of the North Island ranges but do most of my hunting in the Tararua’s. Working as a chef has sent me to several locations in the world and I have worked in New Zealand, Malaysia, Cook Islands and the Maldives. I first started out hunting rabbits and possums with my old man when I was a kid before moving on to goats and deer as I grew older. As a chef I like to use the best produce available. Hunters when killing humanely and taking only what they need can end up cooking with not only the most ethically harvested meat but when dealt with properly, the best quality also. I think it’s really important to know where your food comes from and how best not to waste it, and that’s why I think hunting and cooking marry so well together and that’s what I hope to promote and achieve through sharing the recipes and techniques we use to cook wild game professionally.  

You can find a new recipe using wild game in every new edition of NZ Guns & Hunting Magazine. Here is the first recipe from The Hunter’s Kitchen from the May/June edition.

venison pie

Wild venison, blue cheese and mushroom pie
Serves 6
This recipe utilises Venison shoulder and is great dish for the colder months. Shoulder is a heavily worked muscle which means it requires a slow long cooking time to break down the connective tissue, the flip side is that the tougher cuts of meat have more flavour!
Write a review
Print
Prep Time
1 hr
Cook Time
3 hr 30 min
Total Time
4 hr
Prep Time
1 hr
Cook Time
3 hr 30 min
Total Time
4 hr
Ingredients
  1. 1kg Diced, trimmed Venison shoulder (or neck)
  2. 1/2 Onion
  3. 3cl Garlic
  4. 100g Blue cheese wedge
  5. 1 bottle Speights or any other ale beer
  6. 200ml Red wine
  7. Chicken stock (or water) – enough to cover
  8. 1 Sprig Thyme
  9. 1 Sprig Rosemary
  10. 50g Dried mushrooms (porcini best but can use shittake)
  11. 100g Mushrooms (buttons or flats)
  12. 2Tbsp Duck fat (or butter or cooking oil)
  13. 8Tbs Plain flour
  14. Salt and pepper
  15. 1 Pkt Puff pastry sheets
  16. 1 Egg (whisked with 1Tbs water)
  17. 2Tbs Melted butter
Instructions
  1. Crush the garlic and dice the onion. Roughly chop the mushroom stalks and dried mushrooms. Heat the duck fat in a pot and cook off the garlic, onion and mushrooms until nicely browned. Dust the diced venison in a little flour and in 4 or 5 batches, sear in a hot pan with a little oil until nicely browned. Combine all ingredients together in a deep oven dish (adding enough water or chicken stock so the ingredients are covered) and braise slowly at 150C until tender – about 2-3hrs. If the sauce is too thin then drain the liquid into a pot and reduce until nicely thickened, season with salt and pepper. Cool.
  2. Once cool grease several small (or one large) pie tins and line the base with puff pastry, fill with the pie mix and crumble some blue cheese on top. Place some puff pastry on top for a lid and crimp the edges with a fork. Trim off any excess pastry and brush the top with some whisked egg wash. Bake 1t 180C for about 12-15 mins or until the pastry is cooked and a nice golden brown.
  3. I suggest serving with some buttery mash potatoes and tomato relish.”
MacLean Fraser http://macleanfraser.com/

Leave a Comment

Filed under Blog, Recipes, The Hunter's Kitchen